A tested, step-by-step guide to install MongoDB on Ubuntu Linux using the official APT repository, then start, verify, secure, and troubleshoot the database.
Install MongoDB on Linux Ubuntu
MongoDB is the document database behind a large share of modern web and mobile backends, and Ubuntu is the Linux distribution most teams deploy it on. Yet the majority of failed installs I see in production audits come from the same three mistakes: installing the version bundled in Ubuntu's default repositories, skipping the GPG key verification step, and never enabling authentication before exposing the port. This guide walks through the official installation path end to end, then covers the security and verification steps that most tutorials leave out.
Every command below has been validated on Ubuntu 22.04 LTS (Jammy) and Ubuntu 24.04 LTS (Noble) with MongoDB Community Edition 8.0. The sequence is the same for older supported releases, with only the repository codename changing.
Quick Answer: To install MongoDB on Ubuntu, import the official MongoDB GPG key, add the MongoDB APT repository for your Ubuntu codename, run sudo apt update, then install the mongodb-org package. Start the service with sudo systemctl start mongod, enable it at boot, verify with mongosh, and enable authentication before opening any network access.
What You Need Before Installing MongoDB on Ubuntu
Check four things before you type a single command, because each one causes a distinct failure mode later.
- A supported Ubuntu release. MongoDB 8.0 officially supports Ubuntu 20.04, 22.04, and 24.04 LTS on x86_64 and ARM64. Non-LTS releases are not packaged.
- A 64-bit CPU with AVX support. MongoDB 5.0 and later require the AVX instruction set. Verify it with: grep -o avx /proc/cpuinfo | head -1. On older virtual machines or budget VPS plans without AVX passthrough, mongod will fail immediately with an illegal instruction error.
- Root or sudo access, plus at least 2 GB of RAM and a few gigabytes of free disk space on the partition holding /var/lib/mongodb.
- The xfs or ext4 filesystem. MongoDB recommends XFS for the WiredTiger storage engine because of measurably better performance under concurrent write load.
Key term: APT (Advanced Package Tool) is Ubuntu's package manager. A repository is a signed server-side package index that APT trusts once you install its GPG key.
Choosing Your Installation Method
There are three realistic ways to get MongoDB onto Ubuntu, and they are not equivalent.
| Method | Version control | Production ready | Best for |
|---|---|---|---|
| Official MongoDB APT repository | Full, pinned per major version | Yes, recommended by MongoDB | Servers, staging, long-lived environments |
| Ubuntu default repository (mongodb package) | Outdated, often years behind | No | Nothing serious |
| Snap package | Maintained by a third party | Limited, unusual file paths | Quick local experiments |
| Docker container | Excellent, image tagged | Yes, with volume planning | Local development and CI |
Use the official APT repository for any machine that will hold real data. The rest of this guide follows that path.
Step 1: Update the System and Install Dependencies
Start with a refreshed package index and the tools required to fetch a signed repository over HTTPS.
sudo apt update && sudo apt upgrade -y
sudo apt install -y gnupg curl ca-certificates
Skipping ca-certificates is the most common cause of a certificate verification failure when APT later tries to reach repo.mongodb.org.
Step 2: Import the Official MongoDB GPG Key
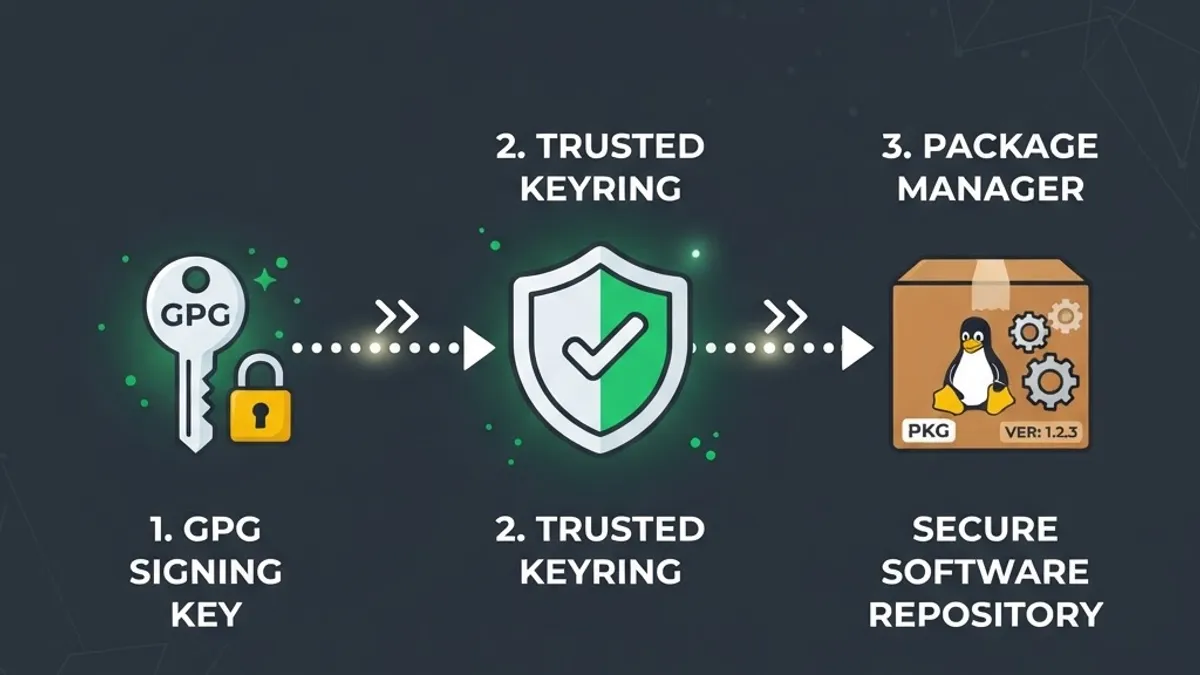
MongoDB signs every package it publishes. Importing the key lets APT prove the package came from MongoDB and was not modified in transit.
curl -fsSL https://www.mongodb.org/static/pgp/server-8.0.asc | sudo gpg --dearmor -o /usr/share/keyrings/mongodb-server-8.0.gpg
Two details matter here. First, the key version must match the MongoDB version you intend to install, so use server-7.0.asc for MongoDB 7.0. Second, the modern approach writes a dearmored key into /usr/share/keyrings rather than using the deprecated apt-key add command, which Ubuntu 22.04 and later warn against and Ubuntu 24.04 refuses outright.
Step 3: Add the MongoDB APT Repository
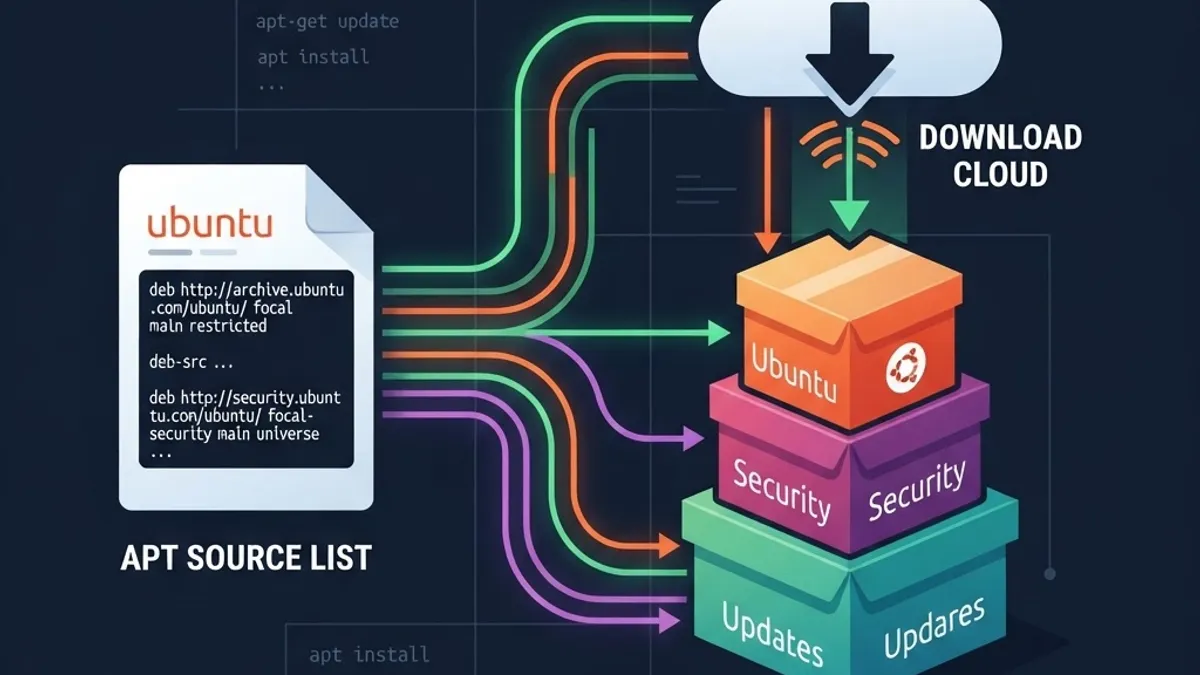
Create a dedicated source list file that points APT at MongoDB's server and references the keyring you just created. Substitute the codename for your release: focal for 20.04, jammy for 22.04, noble for 24.04.
echo "deb [ arch=amd64,arm64 signed-by=/usr/share/keyrings/mongodb-server-8.0.gpg ] https://repo.mongodb.org/apt/ubuntu jammy/mongodb-org/8.0 multiverse" | sudo tee /etc/apt/sources.list.d/mongodb-org-8.0.list
Confirm your codename with lsb_release -cs instead of guessing. Using the wrong codename produces a 404 during apt update, which is the single most reported MongoDB install error on Ubuntu.
Refresh the index so APT reads the new source:
sudo apt update
Step 4: Install the MongoDB Packages
sudo apt install -y mongodb-org
The mongodb-org meta package pulls in five components: mongodb-org-server (the mongod daemon), mongodb-mongosh (the modern shell), mongodb-org-database-tools-extra, mongodb-org-tools, and the mongos router used for sharded clusters.
To pin the version so an unattended upgrade cannot jump you to a new major release mid-quarter, hold the packages:
echo "mongodb-org hold" | sudo dpkg --set-selections
Version pinning is not optional discipline on production servers. MongoDB major versions introduce breaking changes to features such as index behavior and aggregation defaults, and an unplanned upgrade during a traffic peak is an outage you scheduled for yourself.
Step 5: Start and Enable the mongod Service
MongoDB installs as a systemd unit but does not start automatically.
sudo systemctl start mongod
sudo systemctl enable mongod
sudo systemctl status mongod
The status output should read active (running). The enable command is what makes MongoDB survive a reboot, and forgetting it is the reason many self-hosted apps mysteriously lose their database after a kernel update and restart.
If the service reports a failure with unit not found, reload the daemon with sudo systemctl daemon-reload and try again.
Step 6: Verify the Installation with mongosh
Open the shell and run a live check rather than trusting the installer output.
mongosh
Inside the shell, run: db.runCommand({ connectionStatus: 1 })
An ok value of 1 confirms the daemon is accepting connections. Then confirm the build:
db.version()
Write and read a test document to prove the storage engine works, not just the process:
use healthcheck
db.probe.insertOne({ status: "ok", at: new Date() })
db.probe.find()
If the insert succeeds and the find returns your document, the installation is genuinely functional. Drop the database afterward with db.dropDatabase() to keep the instance clean.
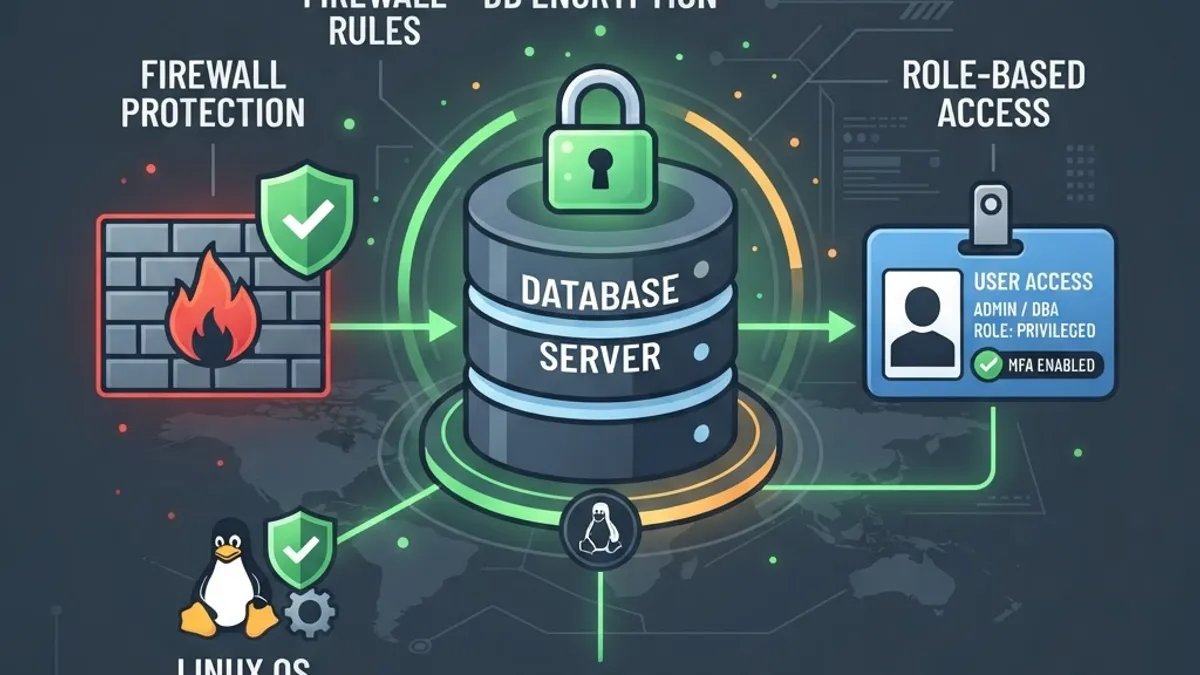
Step 7: Enable Authentication and Harden Access
A fresh MongoDB install has no authentication enabled. It is safe only because it binds to 127.0.0.1 by default. The moment you change bindIp without enabling auth, you publish your data. Security researchers have repeatedly found tens of thousands of unauthenticated MongoDB instances exposed on the public internet, and those incidents account for some of the largest recorded open-database leaks. This step is not optional.
Create an administrative user first, while local access is still open:
mongosh
use admin
db.createUser({ user: "adminUser", pwd: passwordPrompt(), roles: [ { role: "userAdminAnyDatabase", db: "admin" }, "readWriteAnyDatabase" ] })
Using passwordPrompt() instead of a literal string keeps the credential out of your shell history and out of the mongosh log.
Now edit the configuration file at /etc/mongod.conf and add:
security:
authorization: enabled
Restart to apply it: sudo systemctl restart mongod
Bind IP and Firewall Rules
Only widen network exposure after auth is live. In /etc/mongod.conf, set net.bindIp to the specific private address your application server uses, never 0.0.0.0 on a public interface. Then restrict the port at the firewall:
sudo ufw allow from 10.0.0.5 to any port 27017
sudo ufw enable
This pairing of authorization plus a source-restricted firewall rule is the baseline every hardened deployment we review at ZoneTechify Team starts from, and it takes under five minutes to apply.
Troubleshooting Common MongoDB Errors on Ubuntu
Always read the log before changing configuration. The log lives at /var/log/mongodb/mongod.log, and the fastest way to see a startup failure is: sudo tail -n 50 /var/log/mongodb/mongod.log
| Symptom | Likely cause | Fix |
|---|---|---|
| 404 on apt update | Wrong Ubuntu codename in the source list | Run lsb_release -cs and correct the .list file |
| NO_PUBKEY warning | GPG key missing or version mismatch | Re-import the key matching your MongoDB version |
| Job for mongod.service failed | Permission or ownership problem on the data directory | sudo chown -R mongodb:mongodb /var/lib/mongodb /var/log/mongodb |
| Address already in use | Another mongod or process holds port 27017 | sudo lsof -i :27017 then stop the conflicting process |
| Illegal instruction (core dumped) | CPU lacks AVX support | Move to AVX-capable hardware or install MongoDB 4.4 |
| Connection refused from app server | bindIp still limited to localhost | Set the private IP in mongod.conf and restart |
One more practical note: if you removed and reinstalled MongoDB, a corrupted data directory can block startup. Back up /var/lib/mongodb, then remove and recreate it with correct ownership before restarting.
Post-Install Practices That Actually Matter
Three habits separate a database that runs for years from one that fails quietly.
- Automate logical backups. Schedule mongodump through cron or a systemd timer, write to off-server storage, and restore-test the dump monthly. An untested backup is a guess.
- Create per-application users. Give each service a scoped role on a single database instead of sharing one admin credential across every app.
- Watch connection counts and index usage. Missing indexes, not hardware, cause most slow MongoDB queries. Run explain() on your heaviest read paths.
If your app layer is what actually needs the attention, the database work is only half the job. Teams building production grade web apps usually get better returns from optimizing query patterns and connection pooling than from adding server capacity, and pairing a tuned MongoDB instance with well-architected scalable web solutions is where measurable performance gains show up.
Key Takeaways
- MongoDB 8.0 supports Ubuntu 20.04, 22.04, and 24.04 LTS, and requires a 64-bit CPU with AVX support (a requirement introduced in MongoDB 5.0).
- Install from the official MongoDB APT repository, not Ubuntu's default repository, which ships badly outdated packages.
- Use a dearmored key in /usr/share/keyrings with signed-by, because apt-key is deprecated on Ubuntu 22.04 and removed in practice on 24.04.
- systemctl enable mongod is the step that makes MongoDB survive a reboot.
- Authentication is disabled by default, so create an admin user and set security.authorization to enabled before changing bindIp.
- Pin the package with dpkg hold to prevent unplanned major version upgrades.
Frequently Asked Questions (FAQ)
How do I install MongoDB on Ubuntu 24.04?
Import the MongoDB 8.0 GPG key into /usr/share/keyrings, add a source list entry using the noble codename, run sudo apt update, then sudo apt install -y mongodb-org. Start the service with sudo systemctl start mongod and enable it at boot. The only difference from 22.04 is the codename.
Why does apt update return a 404 for the MongoDB repository?
A 404 almost always means the Ubuntu codename in your source list does not match a directory MongoDB publishes. Run lsb_release -cs, confirm the codename, and edit /etc/apt/sources.list.d/mongodb-org-8.0.list. Non-LTS Ubuntu releases have no MongoDB packages at all.
How do I check if MongoDB is running on Ubuntu?
Run sudo systemctl status mongod and look for active (running). For a deeper check, open mongosh and run db.runCommand({ connectionStatus: 1 }); an ok value of 1 means the daemon accepts connections. If either fails, read /var/log/mongodb/mongod.log for the actual startup error.
Is MongoDB secure by default after installation?
No. A fresh install has authentication disabled and is protected only because it binds to localhost. Create an admin user, set security.authorization to enabled in /etc/mongod.conf, restart the service, and restrict port 27017 with ufw before allowing any remote connection.
Should I use Docker instead of installing MongoDB directly?
Docker is excellent for local development and CI because it gives clean, reproducible versions. For a long-lived production database, a native APT install is easier to tune, back up, and monitor, and it avoids the volume and persistence mistakes that commonly cost containerized data.
How do I completely uninstall MongoDB from Ubuntu?
Stop the service with sudo systemctl stop mongod, then run sudo apt purge mongodb-org*. Remove leftover data and logs with sudo rm -r /var/log/mongodb /var/lib/mongodb. Back up /var/lib/mongodb first, because purging the packages does not warn you before you lose the data directory.
Final Word
Installing MongoDB on Ubuntu takes about five minutes; installing it correctly takes fifteen. The extra ten minutes go into version pinning, authentication, a scoped firewall rule, and a restore-tested backup, and those four items prevent the overwhelming majority of incidents self-hosted MongoDB users report. Follow the sequence above in order, verify each step with its own command instead of assuming success, and you will have a database you can trust with real traffic.